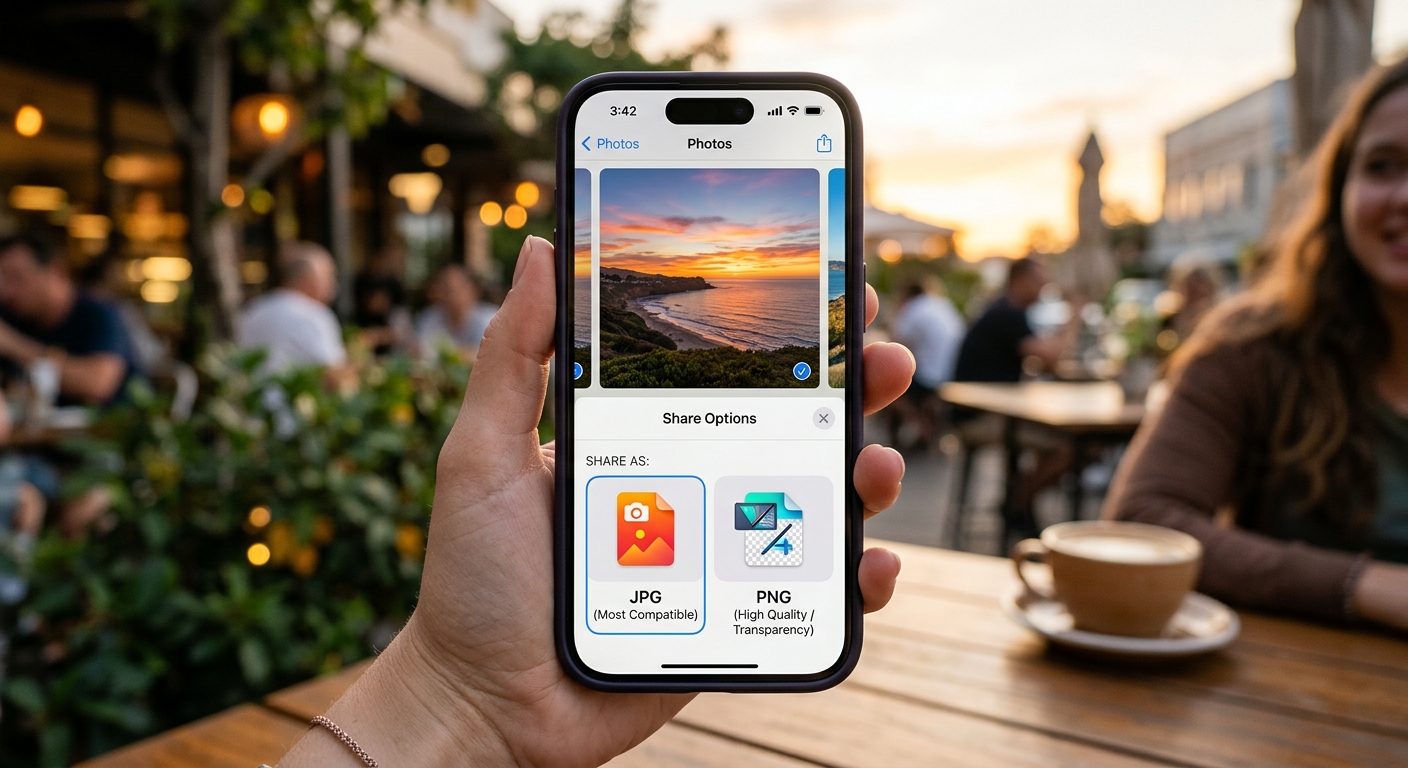
Your photo looks perfect on your iPhone. Then you send it to someone, and they cannot open it. Or an upload form rejects the HEIC file before you can finish. Choosing JPG or PNG usually solves that format problem, but each option serves a different purpose. For everyday photos, JPG is usually the easier choice. PNG earns its place when you need transparency or want to avoid another round of lossy compression.
Choose the format that fits the next stop for your photo.
- Pick JPG for everyday sharing, broad compatibility, and smaller photographic files.
- Pick PNG for transparent cutouts or images that need lossless compression.
- Keep your original HEIC file, regardless of which sharing copy you create.
Why Your iPhone Photo May Need a Different Format
Many iPhones save photos as HEIC when High Efficiency capture is enabled. This format keeps photographic files compact while retaining good visual quality. That makes it useful for a growing camera library.
The trouble starts when the receiving app, website, or device does not support HEIC. A computer might need extra software to open it. An application form might accept only JPG and PNG. Even if someone can view your HEIC photo, their editing program might refuse to import it.
Some sharing methods handle conversion automatically. Official guidance on HEIC sharing explains that photos may be sent as JPEG when the receiving device cannot use the newer format. That behavior depends on the sharing method and destination, though. Check the actual attachment if a particular format is required.
JPG and JPEG mean the same image format. A request for a JPEG file can normally be satisfied with a .jpg file, although a poorly designed upload form may enforce a particular extension.
Choose JPG for Photos People Need to Open Easily
For family pictures, holiday albums, marketplace listings, and ordinary email attachments, JPG is usually the strongest starting point. It works across a broad range of browsers, computers, phones, printers, and editing apps.
JPG uses lossy compression. It reduces file size by discarding some image information. That sounds alarming, but a carefully exported JPG can still look excellent at normal viewing sizes. The quality setting matters. Heavy compression can create blocky areas, muddy detail, or rough edges around text.
If a destination rejects your original files, you can convert iPhone HEIC photos to JPG and send those copies. Start with the original HEIC rather than a previously compressed download. This gives the conversion the best available source.
JPG becomes especially useful when you are sharing many photos. Smaller attachments upload faster and use less mobile data. Recipients also have less to download before they can see what you sent.
Everyday Situations That Favor JPG
- Emailing relatives: A standard photo attachment should open with minimal effort.
- Submitting a form: JPG often suits forms that accept photos and enforce file size limits.
- Publishing a photo: A properly sized JPG usually offers a useful balance of detail and download size.
- Sending a batch: Smaller photographic files make a large selection easier to transfer.
Compatibility still has limits. A website can reject a JPG because it exceeds its size or dimension rules. Read those requirements before converting an entire album.
Choose PNG When Transparency or Lossless Compression Matters
PNG supports lossless compression. Saving an image as PNG preserves the pixel values supplied to its encoder without the compression losses associated with JPG. It also supports an alpha channel, which controls transparency. Both features are defined in this PNG specification.
Transparency is useful when you remove a background from a subject. You might isolate a product, a person, or an object for a presentation. A PNG can keep the surrounding area transparent, allowing another background to show through.
JPG cannot retain that transparency. Exporting a transparent cutout as JPG requires it to be flattened against a solid background. White is common, but the export tool may let you choose another color.
Converting an ordinary HEIC photo to PNG does not remove its background. A wall, sky, or kitchen counter remains part of the image until you use a background removal or selection tool. PNG preserves transparency that exists in the exported image. It does not create a cutout by itself.
PNG can also suit a photo that has become part of a graphic with sharp lettering or flat shapes. Those elements may suffer visible artifacts under strong JPG compression. For a plain camera photo with no transparent areas, PNG often adds file size without a visible benefit for the recipient.
Compare the Formats Before You Export
The decision becomes easier when you connect each format to a specific job. Both can display photos, but their strengths differ.
How JPG and PNG Fit Common Sharing Needs
| Sharing Need | JPG | PNG |
|---|---|---|
| Ordinary camera photos | Usually the practical default | Works, but often creates larger files |
| Transparent backgrounds | Cannot preserve transparency | Can preserve transparent areas |
| Compression behavior | Lossy, with quality and size tradeoffs | Lossless for the exported pixels |
| Broad viewing support | Widely supported | Widely supported, subject to upload rules |
| Photo upload limits | Usually easier to keep small | May exceed limits sooner |
Understand What a Larger File Actually Preserves
A larger file does not automatically contain a better-looking photo. PNG may take far more storage than JPG for the same camera image because its compression works differently.
There is no reliable size ratio that applies to every conversion. Dimensions, scene detail, noise, export settings, and metadata all affect the result. A leafy garden and a plain studio background can compress very differently.
Lossless PNG also cannot recover detail already missing from a HEIC source. It preserves the pixels produced during conversion. If the converter reduces dimensions, changes color handling, or maps HDR brightness into a standard range, the resulting PNG may differ from the original despite using lossless compression.
Neither a typical JPG nor a typical PNG export should be treated as a complete replacement for an iPhone original. A still image export may leave behind Live Photo motion, depth information, or editing history. Keep the HEIC original and its associated library assets if those features matter to you.
Build a Sharing Copy Without Losing Your Original
A repeatable process saves time and prevents accidental quality loss. You only need to make a few deliberate choices.
- Check the destination. Look for accepted formats, maximum file size, required dimensions, and any transparency requirement.
- Start with the original. Select your HEIC photo from your library or original export, avoiding screenshots and copies downloaded from messaging apps.
- Finish your edits. Crop, straighten, and adjust the image before making its final sharing copy. Keep an editable project if you expect more changes.
- Choose the format. Use JPG for a regular photo. Use PNG when transparent areas or lossless output serve a specific need.
- Set dimensions and quality. Keep full resolution for recipients who need it. For a small web placement, export to the requested dimensions. With JPG, choose a quality level that looks clean while meeting the size limit.
- Inspect the exported file. Check orientation, fine detail, colors, file size, and transparency before sending it.
For a batch conversion, test one representative photo first. Include a detailed image or one with tricky lighting. Once the result meets your needs, apply those settings to the rest.
Avoid the Mistakes That Make Sharing Harder
Most conversion problems come from assumptions about what a file extension guarantees. A format choice helps, but the export process still matters.
- Renaming instead of converting: Changing .heic to .jpg does not change the image format. Use an actual conversion or export function.
- Saving JPG repeatedly: Repeated lossy exports can accumulate damage. Return to the original or editable project for each fresh sharing copy.
- Using a screenshot as a substitute: A screenshot may change dimensions, color appearance, and metadata. Export the photo itself when possible.
- Assuming PNG fixes every upload: A site may accept JPG only, or reject an oversized PNG. Follow its stated requirements.
- Ignoring the delivered version: Messaging and publishing apps may resize or recompress your upload. Check the downloaded result when exact delivery matters.
Metadata deserves attention too. Converters differ in whether they retain capture dates, camera details, and location information. Check the output if you need those details for organization, or want location removed before sharing.
Make Your Next Photo Easy to Receive
For an ordinary iPhone photo, choose JPG unless the recipient asks for something else. It provides broad compatibility and usually keeps photographic files manageable. Choose PNG when you need a transparent cutout or have a clear reason to preserve exported pixels without lossy compression.
Keep your original HEIC safely stored. Then make a sharing copy for the person, app, or website receiving it. The best choice is the one that opens correctly, looks right, and fits the job without unnecessary file size.